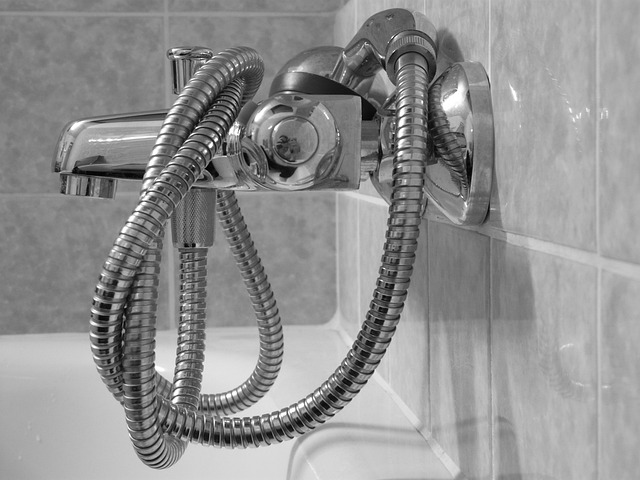
When was the last time you cleaned your shower head? If your answer is along the lines of “I can’t quite remember”, then this step-by-step guide on ‘How to Clean Your Shower Head’ is just for you. As it turns out, our shower heads are often the overlooked heroes of our homes. While they provide us with the refreshing streams of clean water we enjoy at the dawn and dusk of our days, their upkeep is often neglected. However, a clean shower head is vital to maintain a healthy hygiene routine and avoid potential problems like clogged nozzles and bacterial growth.
The good news is, that cleaning your shower head doesn’t require expensive products or a call out to an expensive plumber. Instead, with just a few regular household items and a smidgen of your time, they can be sparkling clean and flowing freely once again.
So let’s move ahead and break down the process into simple, easy-to-follow steps.
Shower Cleaning Supplies You Need
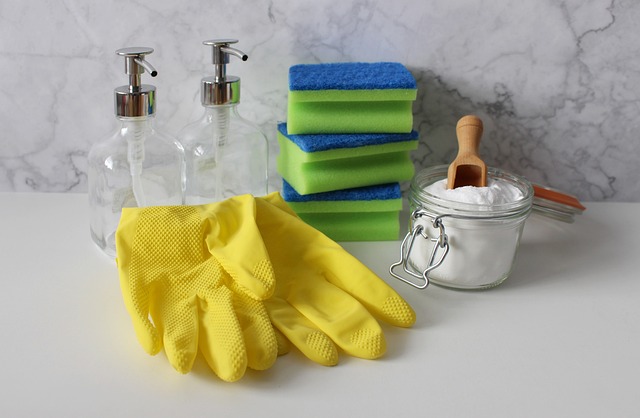
Before we dive into the cleaning process, let’s make sure you have everything you need. Here’s a list of supplies to gather:
- Adjustable wrench
- Distilled white vinegar
- Plastic bag or Ziploc bag
- A toothbrush or small cleaning brush
- Clean cloth or sponge
- Toothpick or safety pin
Now that you have your supplies ready, let’s move on to the next step.
Also read How to Clean and Disinfect Your Home’s Dishwasher and Washing Machine
Preliminary Inspection
First up, closely inspect your shower head for visual signs of limescale, mineral deposits, rust, or general grime. The nature and extent of these build-ups will determine the cleaning process.
Gather All Essential Supplies
Learning how to clean your shower head begins with having the correct supplies. You don’t need anything fancy; most items you already own. Here’s what you need:
– White vinegar (enough to fill a plastic bag).
– A plastic bag (large enough to fit around your shower head).
– Rubber band or zip ties.
– A soft toothbrush or non-abrasive cleaning brush.
– A soft cloth.
What’s terrific about our list of supplies? White vinegar is a natural de-scaler and disinfectant, making it an excellent choice to clean your shower head. It’s eco-friendly, cheap, and non-toxic.
Remove the Shower Head (If Possible)
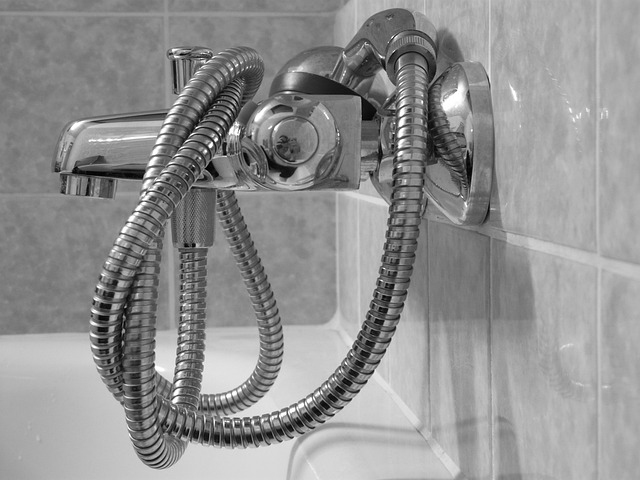
Different models of shower heads exist; some allow you to unscrew them off, others are fixed. If you can remove it, this process becomes easier. However, don’t force or use tools, as you may cause damage. If it’s fixed, no problem, we’ll get to that scenario soon.
For a removable shower head, unscrew it carefully. Ensure you’re not damaging the threading or components in the process.
Drench the Shower Head in Vinegar
Next, submerge the detached shower head in a basin of white vinegar. If your shower head is not detachable, fill a plastic bag with white vinegar and use a rubber band at the top to secure the bag around the shower head. Ensure the holes are immersed completely in the vinegar. Then let it sit. Patience is crucial; the vinegar needs to work its way into the nooks and crannies.
How much time? If minor deposits exist, an hour would suffice. However, for significant accumulation, leaving it overnight achieves the best results. This step is important, as the vinegar naturally dissolves and loosens the limescale and bacteria stuck inside your shower head.
Brush Off the Deposits
Once soaked, remove the shower head from the vinegar. Using a soft toothbrush, gently scrub the nozzles. The aim is to remove any leftover mineral deposits. An old toothbrush proves ideal for this; its bristles reach tiny crevices efficiently. However, remember to be gentle to avoid damaging the finish or the nozzles.
Rinse and Dry
After a thorough brush, you need to rinse the shower head. Run a generous amount of warm water through the shower head (both front and back). This action aids in flushing out the vinegar and any remaining loosened deposits.
Once rinsed, using a soft cloth, dry the shower head thoroughly. This step prevents water spots and additional mineral deposits from forming.
Re-install Your Shower Head
If you had removed your shower head at the start, now’s the time to reinstall it. Again, careful handling ensures you don’t damage any components.
And there you have it, a squeaky clean shower head, free of nasty deposits and bacteria. You’ll be amazed at the improved water pressure and the re-invigorating shower experience. Plus, it’s a procedure very low on hassle and high on result.
Regular Maintenance
To ensure a long, efficient service life of your shower head, incorporate this cleaning method into your regular home maintenance routine. Aim for at least once every two to three months. For the best cleaning services checkout Pristine Housemaids homepage!
Conclusion
In the grand scheme of housekeeping tasks, learning How to Clean Your Shower Head may seem rather inconsequential. However, this small act can make a significant difference to the performance and longevity of your shower head. A clean shower head not only provides a more pleasurable showering experience but also enhances the overall hygiene level of your bathroom.
Remember, vinegar is your trusted ally in fighting against persistent scale and grime. There’s nothing like the satisfying sight of a sparkling clean shower head and the feeling of fresh, free-flowing water cascading down to start your day right.
So, the next time you enjoy a lovely hot shower, spare a thought for your hardworking shower head. Ensure it stays clean and functional, ready to continue serving you for many more showers to come.
In conclusion, cleaning your shower head is one small step towards maintaining a clean, healthy home. So, tackle your shower head with courage, armed with vinegar and a toothbrush, conquer the grime, and let hygiene and cleanliness reign supreme!


