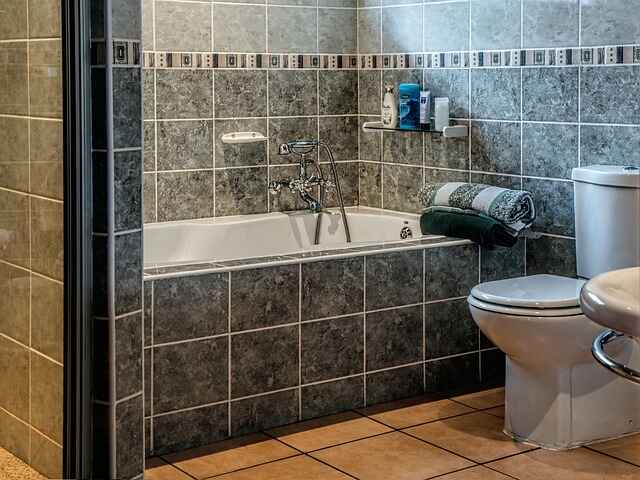
A clean bathroom is not only essential for hygiene but also for creating a pleasant and welcoming space. While it may seem like a daunting task, cleaning your bathroom like a pro is achievable with the right techniques and a systematic approach. In this step-by-step guide, we’ll walk you through the process of transforming your bathroom into a sparkling, fresh, and sanitary oasis. A clean bathroom is crucial for maintaining good health and well-being. It’s a space where we go to relax and rejuvenate, and it should reflect that. A dirty or neglected bathroom can be a breeding ground for bacteria, mold, and unpleasant odors.
Professional cleaning techniques can make your bathroom cleaning process more efficient and thorough. By adopting these practices, you can achieve better results, save time, and ensure a healthier environment. This guide is divided into several steps to make your bathroom cleaning journey easy to follow. From preparation to daily maintenance, you’ll learn how to tackle each aspect like a pro.
How to Prepare for the Cleaning Process
Here are some of the steps involved in preparing for the cleaning process to clean your bathroom like a pro:
Gather Necessary Cleaning Supplies and Tools
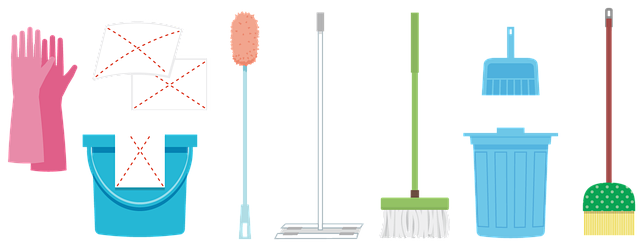
Before you begin, it’s essential to gather the cleaning supplies and tools you’ll need. These typically include:
- All-purpose cleaner
- Glass cleaner
- Toilet bowl cleaner
- Tile and grout cleaner
- Baking soda
- White vinegar
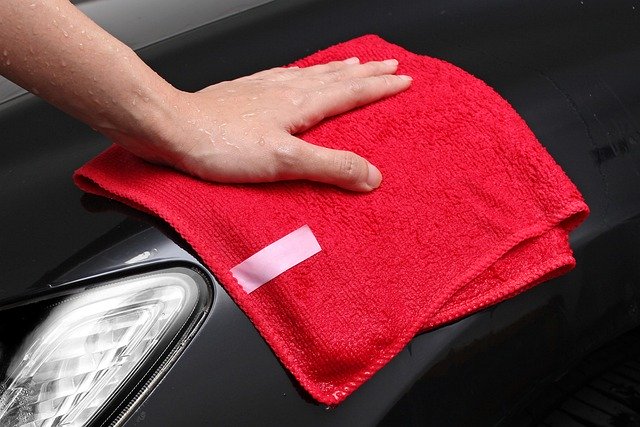
- Microfiber cloths
- Toilet brush
- Scrub brushes
- Sponges
- Rubber gloves
- Trash bags
Safety Precautions
Your safety is paramount. Always wear rubber gloves when using cleaning products, especially those with chemicals. Ensure good ventilation in your bathroom by opening a window or using an exhaust fan. Be cautious while standing on wet surfaces to avoid slipping.
Clearing the Space
Before you start cleaning, remove any items from countertops and shelves. This will give you better access to surfaces and prevent items from getting in the way. Also, make sure the bathroom is empty and free from obstructions.
Step 1: Declutter and Organize
For the first step after you are done, preparing for your bathroom cleaning, follow these steps:
Remove Items from Countertops and Shelves
Clear the countertops, shelves, and any other surfaces in your bathroom. This will allow you to clean these areas thoroughly without any obstacles.
Sort and Organize Toiletries
While items are off the countertops, take the opportunity to sort through your toiletries. Discard expired products and organize the rest.
Empty Trash Bins
Empty and clean your trash bins. This often-overlooked step can make a significant difference in the overall cleanliness and odor of your bathroom.
Step 2: Dry Dusting and Sweeping
After decluttering, it’s time to dry dust and sweep following these steps:
Dusting Light Fixtures and Vents
Use a microfiber cloth or a duster to remove dust from light fixtures and vents. Dust can accumulate in these areas and affect air quality.
Sweeping Floors and Baseboards
Start by sweeping the bathroom floor to remove loose dirt and hair. Pay special attention to corners and edges. This prevents the spread of dust and dirt during wet cleaning.
Clearing Cobwebs and Dust from Corners
Use a long-handled duster or an extended vacuum attachment to clear cobwebs and dust from the corners of the ceiling and walls. Neglecting these areas can make your bathroom feel less clean.
Step 3: Wet Cleaning and Disinfecting
Wet cleaning and disinfecting follows next after dusting and sweeping. Take note of the following:
Cleaning and Disinfecting Surfaces
Begin by spraying an all-purpose cleaner on all surfaces—countertops, shelves, and the outside of cabinets. Wipe them clean with a microfiber cloth. For touchpoints like light switches and doorknobs, use a disinfecting solution to kill germs effectively.
Tackling the Toilet
Apply toilet bowl cleaner and let it sit for a few minutes. While it’s soaking, use an all-purpose cleaner to clean the exterior of the toilet, including the flush handle and surrounding areas. Afterward, scrub the toilet bowl with a toilet brush, paying attention to under the rim. Don’t forget the base and floor around the toilet.
Scrubbing the Shower and Bathtub
Spray tile and grout cleaner on the tiles and grout in your shower or bathtub. Let it sit for a few minutes. Meanwhile, use an all-purpose cleaner on the fixtures, including faucets and showerheads. Scrub the tiles and grout with a scrub brush. Rinse and wipe clean with a cloth.
Cleaning Sink and Faucets
Apply an all-purpose cleaner to the sink and faucets. Pay attention to any buildup around the drains and faucet handles. Use an old toothbrush to reach into tight spots. Rinse and wipe dry.
Cleaning Mirrors and Glass Surfaces
Spray glass cleaner on mirrors and any glass surfaces in your bathroom. Wipe them clean with a lint-free cloth, ensuring a streak-free shine.
Step 4: Tile and Grout Cleaning
Now let’s tackle the tiles and grout with the following steps:
Deep Cleaning Tile and Grout
Use a specialized tile and grout cleaner to deep clean the tile and grout on your bathroom floor and walls. Scrub grout lines with a grout brush to remove any discoloration or staining. Rinse and dry.
Removing Soap Scum and Mold
For stubborn soap scum or mold, a mixture of equal parts baking soda and water can be applied to problem areas. Scrub with a scrub brush and rinse thoroughly.
Grout Sealing
Consider sealing the grout to prevent future staining and make future cleaning easier. Grout sealers are available at most hardware stores.
Step 5: Floor Cleaning
Now it’s time to sweep. Follow these steps:
Sweeping and Mopping
After you’ve completed the previous steps, give the floor a thorough sweep to remove any debris. Then, mop the floor using a mild floor cleaner, paying special attention to corners and edges. Allow the floor to dry completely.
Cleaning Floor Grout
If your bathroom has tile flooring with grout, you can use a grout cleaner to freshen it up. Apply the cleaner, scrub with a grout brush, and rinse.
Polish and Shine
For an extra shine, you can polish the floor tiles with a product suitable for your flooring material, whether it’s ceramic, porcelain, or natural stone.
Step 6: Reorganize and Replace Items
Of course you need to replace and reorganize things back in place. Here is a guide to follow:
Organize Toiletries and Accessories
Now that your bathroom is clean and fresh, organize your toiletries and accessories. Use containers or shelves to keep everything tidy.
Replace Clean Linens and Towels
Replace used towels and bath mats with fresh, clean ones. Having clean linens can enhance the overall feeling of cleanliness.
Restock Essentials
Check your bathroom essentials such as toilet paper, hand soap, and tissue boxes. Ensure that everything is adequately stocked for the next use.
Step 7: Final Touches and Freshening Up
After putting things back in place, you need to put in place some final touches like these:
Air Freshening
To keep your bathroom smelling fresh, consider using an air freshener or opening a window for ventilation. Plants or scented candles can also add a pleasant fragrance.
Polishing Fixtures
For a finishing touch, polish metal fixtures like faucets and towel bars to give them a shiny, clean look.
Checking for Missed Spots
Take a few moments to walk through your bathroom, checking for any missed spots or streaks on surfaces and mirrors. Tackle them as needed.
How to Maintain A Clean Bathroom
Here are some of the best tips for maiantianin a clean bathroom at all times:
Regular Cleaning Schedule
To keep your bathroom consistently clean, establish a regular cleaning schedule. This could be a weekly or bi-weekly routine to prevent dirt and grime from building up.
Quick Daily Maintenance Tips
Implement quick daily maintenance habits, such as wiping down the sink and countertop after use, drying the shower walls, and promptly fixing any leaks or issues to prevent larger problems.
Preventative Measures
Consider using bathmats or rugs in high traffic areas to protect the floor from water damage. Use a squeegee on the shower walls after each use to reduce the build-up of soap scum and water spots.
Conclusion
In conclusion, cleaning your bathroom like a pro doesn’t have to be an overwhelming task. By following this step-by-step guide, you can achieve a sparkling, fresh, and sanitary bathroom without the need for professional cleaning services. The satisfaction of a clean bathroom is not only aesthetically pleasing but also contributes to a healthier and more pleasant living environment. So, take charge of your bathroom cleaning routine and enjoy the benefits of a professionally cleaned space. Your oasis of cleanliness awaits!


