When it comes to keeping our homes clean and free from germs, we often focus on common areas like countertops, floors, and bathrooms. However, one area that is often overlooked but equally important to clean and disinfect is our home’s light fixtures. Light fixtures not only provide illumination but can also accumulate dust, dirt, and potentially harmful bacteria over time.
In this guide on how to clean and disinfect your home’s light fixtures, we will walk you through the steps to effectively clean and disinfect your home’s light fixtures, ensuring a well-lit and hygienic living environment for you and your family.
Assessing the Cleaning Needs of Your Light Fixtures
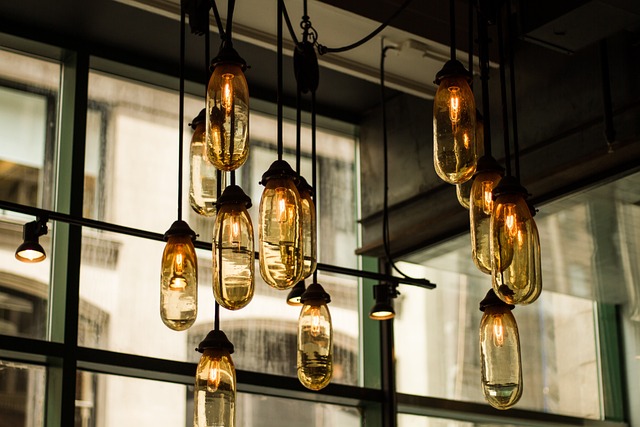
Before diving into the cleaning process, it’s essential to assess the type of light fixtures you have and the level of cleaning they require. Different fixtures, such as chandeliers, pendant lights, or recessed lighting, may have varying cleaning needs. Here’s how you can determine the cleaning requirements for your light fixtures:
- Identify the type of light fixture: Take note of the different light fixtures in your home. Chandeliers, for example, often consist of delicate crystals or intricate designs that require extra care during cleaning.
- Inspect for dust and grime: Carefully examine each fixture for dust, dirt, and grime buildup. Look for areas that are difficult to reach or hidden from view.
- Consider the material: The material of your light fixtures can influence the cleaning method. Metal fixtures may require different cleaning agents compared to glass or plastic ones.
Gathering the Essential Cleaning Tools and Materials
Now that you have assessed your light fixtures’ cleaning needs, it’s time to gather the necessary tools and materials to ensure an effective cleaning process. Here’s what you’ll need:
- Step ladder or stable platform: Since light fixtures are often mounted on ceilings or high walls, a step ladder or stable platform will help you reach them safely.
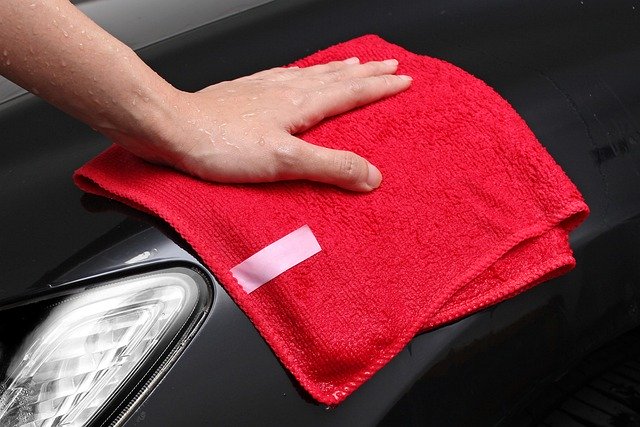
- Microfiber cloth or duster: These tools are ideal for dusting light fixtures without scratching or damaging delicate surfaces.
- Cleaning solution: Depending on the fixture’s material, choose an appropriate cleaning solution. For glass fixtures, a mild glass cleaner works well, while metal fixtures may require a non-abrasive cleaner.
- Rubbing alcohol or disinfecting wipes: To disinfect your light fixtures, have rubbing alcohol or disinfecting wipes on hand. These will help eliminate bacteria and germs effectively.
Step-by-Step Cleaning Guide for Light Fixtures
Now that you have everything ready, let’s dive into the step-by-step process of cleaning and disinfecting your home’s light fixtures. Follow these instructions for a thorough and safe cleaning experience:
- Turn off the lights and allow fixtures to cool: Before starting the cleaning process, make sure the light fixtures are turned off and have cooled down. This will prevent any potential accidents and ensure your safety.
- Dust the fixtures: Begin by dusting the fixtures with a microfiber cloth or duster. Start from the top and work your way down, capturing any loose dust and cobwebs. Be gentle, especially when dealing with delicate fixtures like chandeliers.
- Remove detachable parts (if applicable): Some light fixtures have detachable parts, such as glass shades or pendant covers. Carefully remove these parts and set them aside for individual cleaning.
- Clean detachable parts: Fill a basin or sink with warm water and a mild cleaning solution appropriate for the material of the detachable parts. Gently wash them with a soft cloth or sponge, ensuring thorough cleaning. Rinse well and dry before reattaching.
- Clean non-detachable parts: For fixtures that don’t have detachable parts, use a microfiber cloth dampened with a suitable cleaning solution. Wipe the surface of the fixture, paying attention to any intricate details or hard-to-reach areas.
- Disinfect the fixtures: To disinfect your light fixtures, use rubbing alcohol or disinfecting wipes. Apply the alcohol or wipes to a clean cloth and gently wipe the surface of each fixture. This will help eliminate bacteria and germs that may be present.
- Allow fixtures to dry: After cleaning and disinfecting, give the fixtures sufficient time to air dry before turning the lights back on or reattaching any detachable parts. This will prevent water spots and ensure a pristine finish.
Maintenance Tips for Clean and Hygienic Light Fixtures
Keeping your light fixtures clean and hygienic doesn’t end with a one-time cleaning session. Here are some maintenance tips to ensure your fixtures stay fresh and germ-free:
- Regularly dust your light fixtures using a microfiber cloth or duster to prevent dust buildup.
- Consider using light bulb covers or shades to minimize dust accumulation on the bulbs themselves.
- Inspect your light fixtures periodically for any signs of damage or malfunctioning parts. Replace or repair them promptly to maintain both safety and cleanliness.
Conclusion
Cleaning and disinfecting your home’s light fixtures is an important task that should not be overlooked. By following the steps outlined in this guide, you can ensure that your fixtures shine brightly and contribute to a clean and healthy living environment. Remember to assess your fixtures’ cleaning needs, gather the necessary tools and materials, and follow the step-by-step cleaning process. With regular maintenance, your light fixtures will continue to provide illumination while maintaining a hygienic atmosphere in your home.


