The air we breathe within the confines of our homes plays a pivotal role in our well-being. Often overlooked, the maintenance of air vents and ducts is a crucial aspect of ensuring clean, healthy air circulation. In this detailed guide, we’ll unravel the secrets of how to clean and disinfect your home’s air vents and ducts, providing you with simple yet effective steps to breathe fresh, pure air within the comfort of your home.
Air vents and ducts are the respiratory system of your home, circulating air from your heating and cooling systems. Over time, dust, allergens, mold, and even bacteria can accumulate, compromising the air quality. Regular cleaning and disinfection not only enhance the efficiency of your HVAC system but also contribute to a healthier living environment.
Here is our related post on How to Clean and Disinfect Your Home’s Air Ducts: A Comprehensive Guide
Signs Your Vents and Ducts Need Cleaning
Before we delve into the cleaning process, let’s identify signs that your air vents and ducts may be due for a cleanup:
- Visible Mold: If you spot mold growth in or around your vents, it’s a clear indicator that cleaning is overdue.
- Unpleasant Odors: Lingering, musty odors emanating from the vents suggest the presence of mold or bacteria.
- Increased Allergies: If family members experience a sudden spike in allergy symptoms, dusty or contaminated vents might be the culprit.
- Visible Dust: Excessive dust around vents or on furniture despite regular cleaning could be a sign of dirty ducts.
The Cleaning Process
1. Gather Your Tools
Before you embark on the cleaning journey, assemble the necessary tools:
- Screwdriver
- Soft-bristled brush or vacuum cleaner attachment
- Microfiber cloths
- Disposable mop heads or duct cleaning brushes
- Bucket
- Cleaning solution (mild detergent or a mixture of water and vinegar)
2. Turn Off the HVAC System
Ensure your heating or cooling system is switched off before commencing the cleaning process. This prevents dust and debris from being circulated throughout your home during the cleaning.
3. Remove Vent Covers
Use a screwdriver to carefully remove the vent covers. These can be soaked in warm, soapy water for a thorough cleaning while you proceed with the ducts.
4. Vacuum and Brush
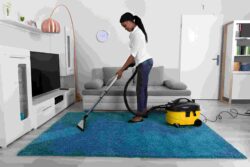
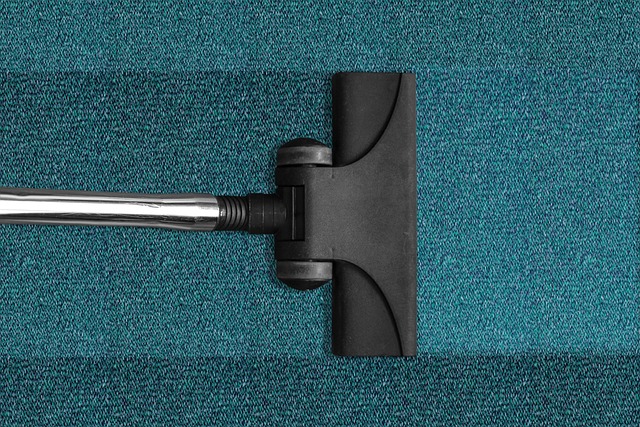
Gently vacuum the interior of the vent using a soft-bristled brush or a vacuum cleaner attachment. This removes loose dust and debris. Be cautious not to damage the ductwork.
5. Duct Cleaning
For a more comprehensive clean, consider using specialized duct cleaning brushes or disposable mop heads attached to a long handle. These can reach deep into the ducts to dislodge and remove built-up dirt.
6. Wipe Down Vent Covers
Once the vent covers have soaked, give them a good scrub with a microfiber cloth or a soft brush. Ensure they are completely dry before reattaching.
7. Clean Surrounding Areas
Don’t forget to clean the surrounding areas where dust may have settled, such as walls and ceilings near the vents.
8. Inspect for Mold
Take this opportunity to inspect for mold. If you spot any, a mixture of water and vinegar or a mild detergent can be used to clean the affected areas. Ensure the area is completely dry before reattaching the vent covers.
9. Replace Filters
Consider replacing or cleaning your HVAC filters during this process. Clean filters enhance airflow and contribute to better air quality.
10. Professional Assistance
If the ducts are extensive or if you’re uncomfortable with a DIY approach, seeking professional help is a prudent option. Professional duct cleaning services use specialized equipment to ensure a thorough clean.
See also our post on A Comprehensive Guide to Cleaning and Maintaining Your Home’s HVAC System
Disinfecting Your Air Vents and Ducts
1. Choose a Disinfectant
Select a suitable disinfectant based on the materials of your ductwork. Consult your HVAC system’s manual or seek professional advice if uncertain.
2. Apply Disinfectant
Using a clean cloth or sponge, apply the disinfectant to the interior of the ducts. Ensure even coverage, especially in areas prone to mold growth.
3. Let it Sit
Allow the disinfectant to sit for the recommended time specified on the product. This ensures that it effectively eliminates bacteria and mold.
4. Ventilate
After the designated time has passed, turn on your HVAC system to circulate fresh air through the disinfected ducts. This helps in removing any residual disinfectant odor.
See also our post on 14 Tips for Cleaning and Maintaining Your Home’s HVAC System
How to Maintain Clean Air
Cleaning and disinfecting your air vents and ducts is a valuable step, but maintaining clean air requires ongoing efforts. Here are some tips:
- Regularly Change Filters: Set a schedule to replace or clean your HVAC filters.
- Control Humidity: Keep humidity levels in check to prevent mold growth.
- Use Air Purifiers: Consider using air purifiers to trap airborne particles.
- Ventilate Your Home: Allow fresh air to circulate by opening windows and doors when weather permits.
Conclusion
The air we breathe impacts our health and well-being. Taking the time to clean and disinfect your home’s air vents and ducts is an investment in a healthier living environment. From the simple tools needed to the step-by-step cleaning process, this guide empowers you to take charge of your indoor air quality. So, open those vents, roll up your sleeves, and breathe in the freshness of a well-maintained home – because every breath countsa.


